How to Make a Reel With Photos in 5 Easy Steps
In the past few years, video content has taken over on socials. In fact, 67% of marketers say the biggest ROI is sharing videos on social media. So, there's never been a better time to start creating video content then right now.
However, for some brands, finding the resources or time to be able to film videos can be difficult. Or, if you are a freelancing social media manager, you might run into clients that don't have video content or the ability to make video content. An easy to fix to this: using photos in Instagram Reels!
Here is how to make a Reel with photos in a few easy steps:
Turn It Into a Slideshow
STEP ONE:
In the Instagram Reels editor (select the "+" > "Reel"). In the bottom left-hand corner of the Reels editor, select the blue plus to open your camera roll.
STEP TWO:
Once your camera poll pops up, click on a photo to select it
STEP THREE:
Once the photo appears on the screen, you can adjust the clip time using the slider on the bottom or fit the photo to scale if there is black space, and hit "add" in the top right corner. Repeat this step with all photos you wish to add, then select “next”
STEP FOUR:
From there, you can add filters, audio, sticker, drawings, text from the menu on top of the screen. You can also reorder, or adjust the clip lengths, or add more using the "edit clips" button in the bottom left corner. Select “Next” when you are completed.
STEP FIVE:
Add your caption, adjust your Reel’s setting, and share!
The Final Product:
Make a Collage
STEP ONE:
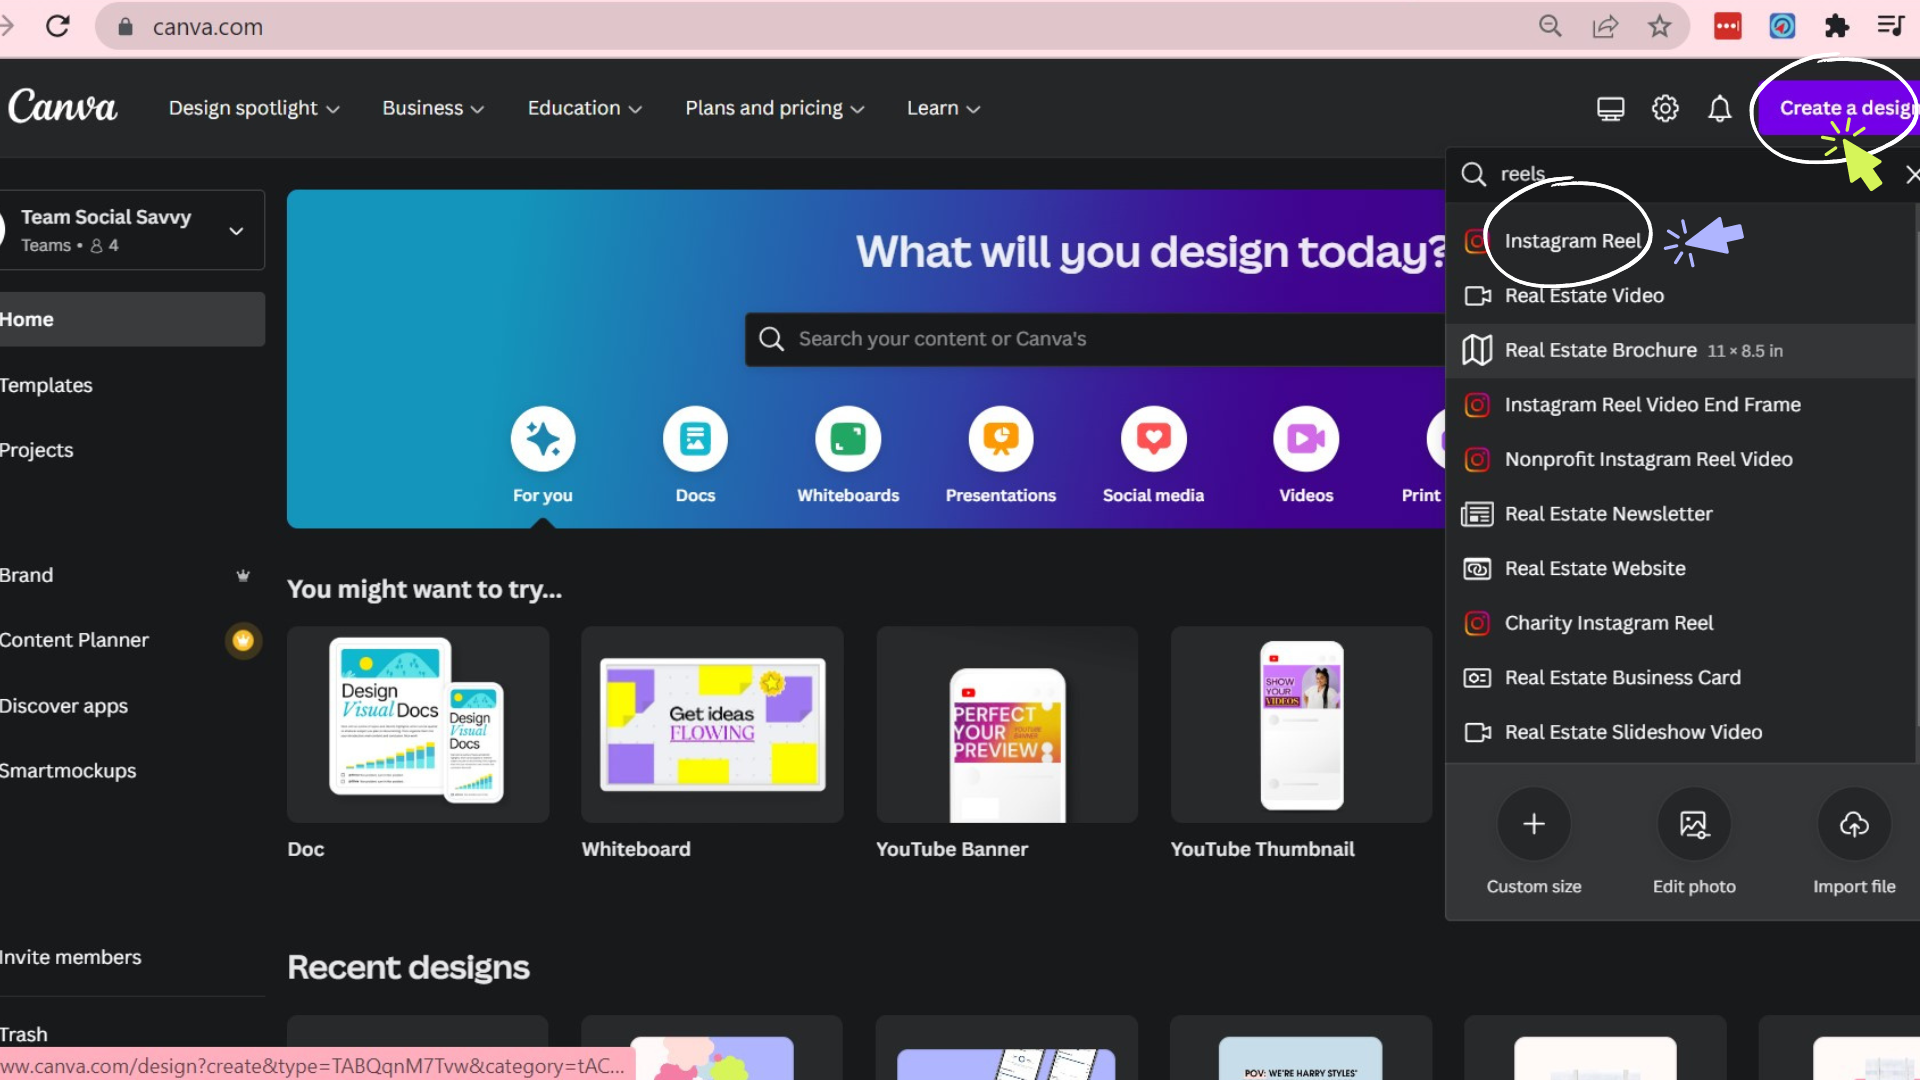
Go to Canva.com > Click "Create a Design" > Select or Type "Instagram Reel"
STEP TWO:
Upload your photos to Canva and select one to use as the background.
STEP THREE:
Adjust the timing of the photo to the desired amount (we recommend between 1-2 seconds!). After you select the correct time, duplicate the slide.
STEP FOUR:
On the second slide, add in a new photo. With the photo selected, go to "edit image" > and click the "background remover" feature.
STEP FIVE:
Continue to duplicate the slides and add in new photos with each slide, using a variety of full images and cut-out images. Adjust the timing of each slide and add an animation or transition if you'd like!
Final Product:
We have plenty more of easy tutorials where that came from! Join our email newsletter for more tips and tricks for all things social media.


